Sunday 31 December 2017

Orphan Cards

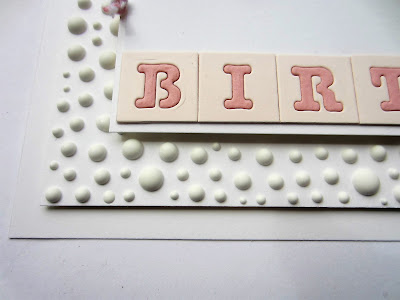
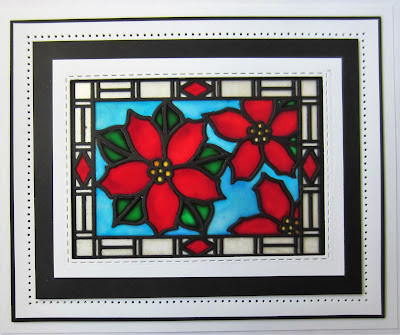
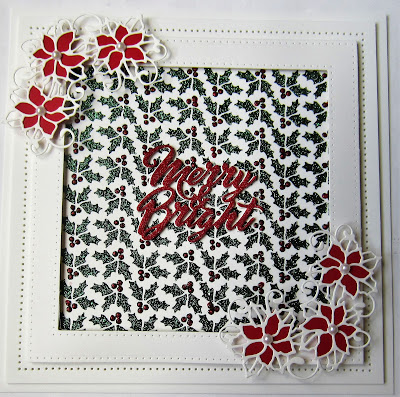
 Happy New Years' Eve all!  As tradition would have it, today is the day for my "orphan" card post.  They have been called orphans in the past because I was always looking for a good home for them, but I do have to confess that I have forgotten to dig them out of their totes and leave them to be posted and I am nowhere near where they are at the moment.  So, breaking with tradition, I am just going to share these with you.  For whatever reason, the colour was wrong, the layout didn't work, proportion was off, they were just plain boring or who knows why, they just didn't work for me when they were finished.  They never had their day on the blog as I just didn't feel like they would inspire anyone.  Hey, we all have off days, right??  However, I have learned one thing after all these years of blogging and that is what I may not care for, some of you do and vice versa.  There weren't quite as many as usual this year though so maybe that's something! LOL  I do, however, always love to hear what you think about them. Agree with me?  No?  Have a favourite or least favourite among them?  Let me know.

Be safe if you are out and about tonight!  All for now, Sue x


Saturday 30 December 2017

Make a Cake Card


Hi crafters!  How about some chocolate cake just dripping in icing!  Okay, it's just a die but it does look good, don't you think? LOL  Here is a really fun set that you can use for anyone's birthday card!


The finished dimensions are 7" x  7" in size. All for now, Sue x

Friday 29 December 2017

Sweet Dreams

 Hello fellow bloggers!  I have gone very clean and simple for this baby card today.  I will admit to being quite smitten with it though,  as sometimes, as they say, less is more!  I started by cutting three small Hexagons from the Double Stitched Hexagon Noble die set and adding mounting foam to the back of them.  I attached them across a larger piece of coconut white card with two up and one down in the middle.  From the Sweet Dreams Little One die set, I cut the turtle out of pale green card and inked him lightly with Peeled Paint Distress Oxide ink and added him coming out and upwards from the left hexagon.  For the centre, I cut the puppy out of taupe card and inked him lightly with Vintage Photo Distress Oxide ink.  I added mounting foam and centred him in the middle hexagon.  I cut the bunny out of pink card, adding a bit of Worn Lipstick oxide to the ears, tail and heart and added her to the remaining hexagon with foam.  I cut the sweet dream sentiment die twice out of pale green card and stacked them, gluing it into the lower corner.  White on white mats provided a lovely clean finish to the simple card.  The finished dimensions are 6 1/4" x  7 1/2" in size. All for now, Sue x


                                                          Follow my blog with Bloglovin

Thursday 28 December 2017

Anything For You

Hi bloggers!  You will be surprised to find that today's offering is an actual card, with an inside and everything! LOL   I just couldn't resist making one with the Hexagon Nobles!  I made a shaped card blank using the Double Stitched Noble Hexagons out of coconut white card.  I opened up the blank, then used the large decorative die from the Classic Adorned Hexagon set to cut a design into the outer edge.  Next I closed the blank and used the Double Stitched dies to emboss some detail (which also shows through on the inside too)  Out of Rich Plum card, I cut the large decorative frame from the Lavish Accented Hexagon Noble die set and added it with foam.  I stamped my sentiment then added a small frame cut from white card and backed with rich plum over it.  Using the solid flowers from the Pinwheel Floral, I made a flower and inked it with Seedless Preserves Distress Oxide and seated it with a thin satin bow and some leaves from the set.  On the inside of the card, I stamped another sentiment, then used the Classic Adorned Hexagon set to cut it out using two decorative dies around it.  I cut a plum card backing for the smaller of the two sections and glued it in back before adding the entire piece to the inside of the card with double sided tape so it was flat.  The finished dimensions are about 6 1/2" across at the widest point.  All for now, Sue x


                                                       Follow my blog with Bloglovin

Wednesday 27 December 2017

Not Older, Just Better

Hello there my crafty friends!  Today's card offering is a result of a day of play just to see what sort of new looks I could come up with.  I found this one very interesting so I decided to make it into a full card.  I started with a piece of clear acetate and dripped some of out Intense Pigment Stains on to it.  I used the Rich Crimson and Sunflower Yellow.  I added another piece of acetate and sort of mushed them around (technical term! LOL), allowing the stains to blend, but not completely cover the acetate so there are clear areas left.  I left it aside to dry, then added a piece of coconut white card behind it so you see white areas.  I cut the Alphabet Grid and just used the grid, not the letters and added it to the top.  I made a multi layered white frame from the Double Pierced Noble Squares and added it with foam over the background.  I accented the corner with  the Pinwheel Floral dies of varying sizes and the leaves.  I added Iced Snow to the flowers for a bit of sparkle.  I stamped the sentiment and cut it out with the Lavish Accented Hexagons, adding a decorative base for it to sit on and mounted it in the centre of the frame.  White on white mats were used to complete the card.  The finished dimensions are 7 1/4" x  7 1/4" in size.  All for now, Sue x


                                                        Follow my blog with Bloglovin

Tuesday 26 December 2017

Edger Background Card


Happy Boxing Day all!  As promised no more Christmas cards, but I have a lovely video showing some fun things to do with the Ecliptic Edger die.


The finished dimensions are 7 1/2" x  7 3/4" in size.  All for now, Sue x

                                                      Follow my blog with Bloglovin

Monday 25 December 2017

The Last Of The Christmas Cards

Happy Christmas to all my blog family!  If you are reading this, then thank you for taking the time today to stop by the blog!  I hope everyone is having a wonderful Christmas day!  As promised, the very last of all the Christmas cards for 2017!  I promise not to show another Christmas card on this blog until at least June or July next year!  You have my word! LOL   If you have a few minutes, I would love to hear from you, but then go be with family or friends and spend some special time together!  All for now, Sue x


                                                      Follow my blog with Bloglovin